
One of our ongoing efforts at the Mosul Heritage Library (MHL) is cataloguing our physical book collection, which is growing and approaching 1,000 titles.
Around Spring time this year I began this process in the most straightforward way, creating an Excel (.xlsx) file and recording the metadata for each book, including: Author, Title, Publication year, Publisher etc.
I started this process manually and of course it is time consuming, as each book has to be processed individually.
My first attempt at speeding up this process was to try a couple of Cataloguing mobile apps, namely LibraryThing and Libib. These apps allow you to scan the barcode on books, the app then captures the ISBN and the corresponding metadata for each book.
Although these apps work just fine, they were not suitable for MHL’s collection, as many of our books do not have a barcode or an ISBN number, so I had to come up with another way.
I then settled on a new method, which integrates mobile phone photography, a basic script written in Python, and an AI platform, in my case Google’s Gemini.
What is Python and How Do You Install It?
If you haven’t used Python before, think of it as a clear set of written instructions that tells your computer how to automate repetitive tasks. It reads files/data, communicates with web tools, and organises files automatically.
- On Windows: Download the installer from python.org/downloads. During setup, make sure to check the box that says “Add python.exe to PATH” before clicking Install.
- On Linux / Mac: Python comes pre-installed out of the box.
I personally run this entire workflow on a laptop running Linux (Linux Mint), which makes setting up Python, running terminal scripts, and managing virtual environments exceptionally seamless. However, the core principles and code are completely cross-platform – everything described here works just as smoothly on Windows.
Step 1: Capturing the Source Images
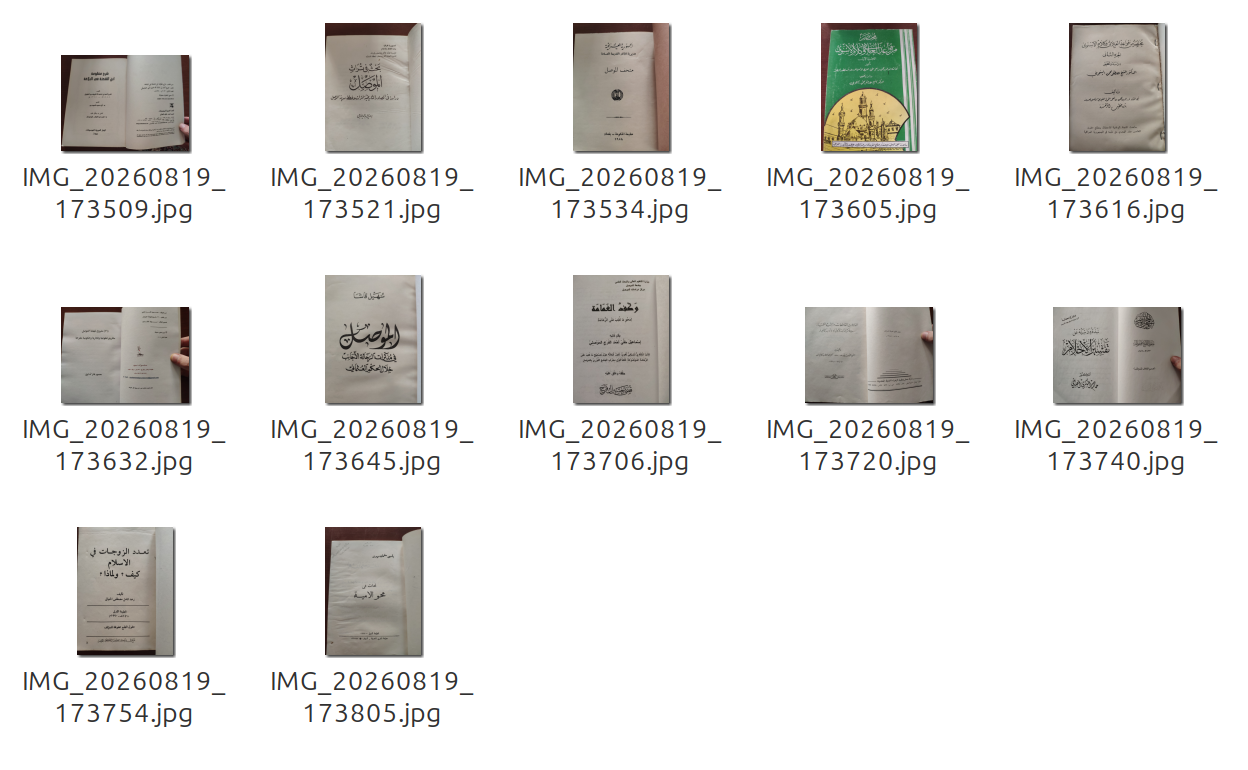
The workflow starts simply. Using a standard mobile phone camera, I take clear photographs of each book’s title page, ideally one that has all the important information including: Author, Title, Publication date etc.
Once captured, I plug my phone into my computer using a USB cable and transfer the image files directly into a project folder.
Step 2: Extracting Metadata via Terminal or Command Prompt
Instead of manually typing the details for every volume into a database, I run a script using the command line – the Terminal on Linux/Mac, or Command Prompt (accessed by typing cmd in the Start menu) on Windows.
The script performs three key tasks:
- Locates the Images: Scans your target folder for newly transferred book photos.
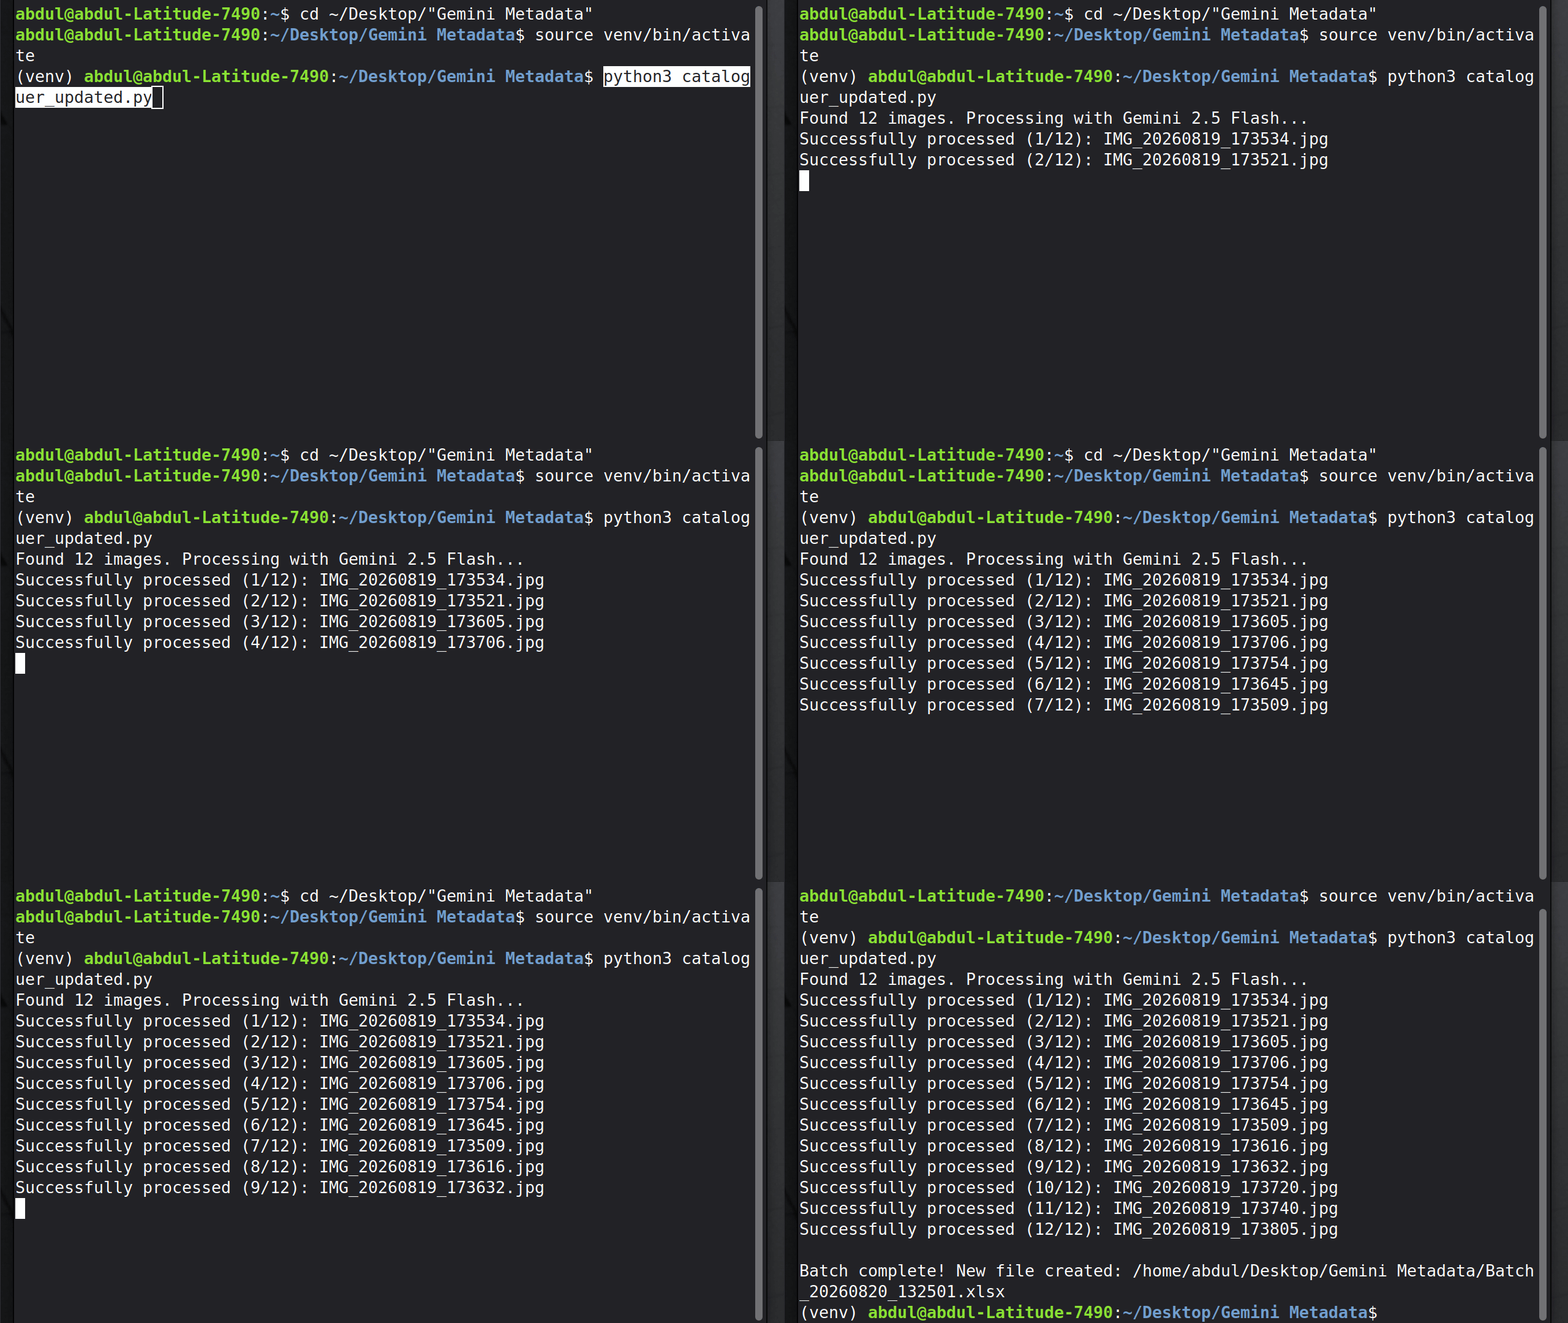
- Sends Prompts to Gemini: Sends each image to Gemini 2.5 Flash using an API key generated through Google AI Studio. The prompt strictly instructs the model to transcribe fields like title, author, publisher, and publication date directly as printed.
- Generates an Excel File: Parses the returned structured data and saves it straight into an
.xlsxspreadsheet ready for library ingest.
I have also instructed the AI model to transcribe Arabic names and titles using the ALA-LC transliteration system. The AI generally reads most author names and titles correctly, but occasionally it gets some wrong, in which case I edit them and fix them manually.
Once I have checked the output of the AI model and fixed any errors, I simply copy and paste the results into our master catalogue Excel file.
Step 3: Watching the Script Run
Here is a look at the execution in real time. The script processes each image in sequence, logs progress status messages, and outputs the final compiled Excel metadata file.
Try It Yourself: The Code
For those interested in adapting this workflow for their own cataloguing projects, here is the basic structure of the script:
import os
import glob
import openpyxl
from google import genai
from PIL import Image

# Initialize the Gemini client using the environment variable GEMINI_API_KEY
client = genai.Client()

# Define directory and search for image files
image_folder = "photos"
images = glob.glob(os.path.join(image_folder, "*.jpg")) + glob.glob(os.path.join(image_folder, "*.png"))

if not images:
    print("No images found in the photos folder.")
else:
    print(f"Found {len(images)} images. Processing with Gemini...")

# Execution loop, prompt instructions, and openpyxl export logic follow below
# ...
Limitations
This process has some limitations. Currently, I can only upload one image per book, but in some cases there is not a single page of the book that has all the metadata – this is especially true of older books.
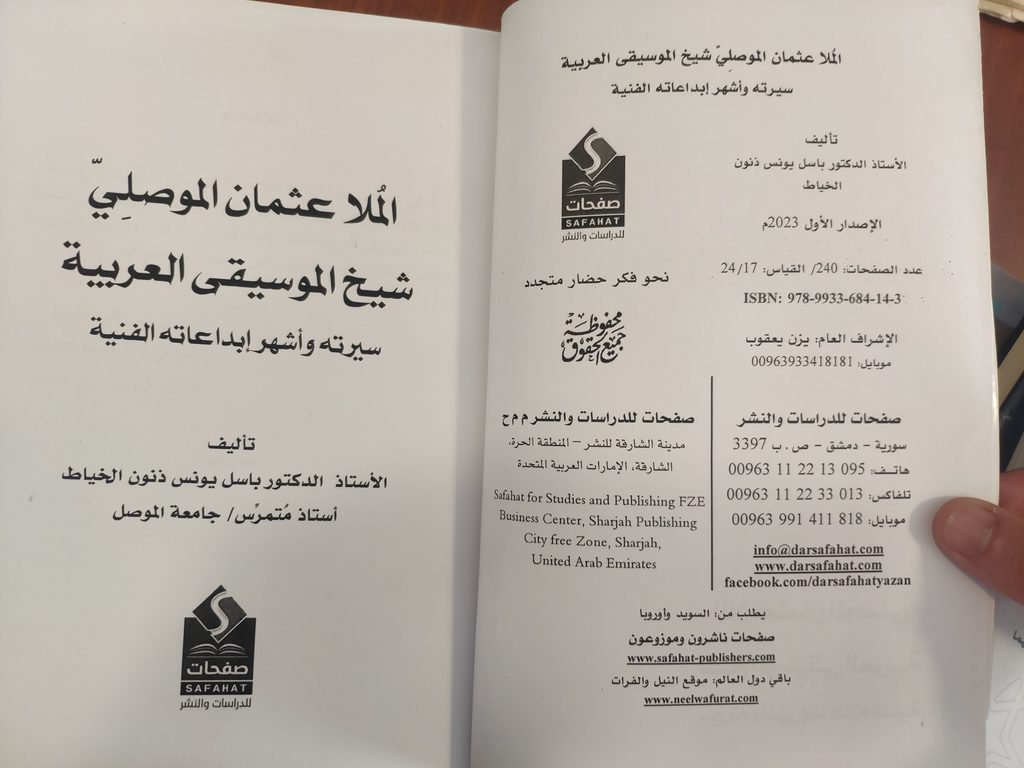
I have tried to adapt the model to see if I can include more than one image per book, but the problem here is that the AI model does not know when multiple images relate to the same book.
Perhaps one workaround would be to name the image files in a logical way e.g. BookTitle_1.jpg and BookTitle_2.jpg, but this would require extra work. I currently just use the default file names that my phone generates. In cases where some metadata is missing, I simply add them manually after the Excel file is created.
Another limitation is that I can only process a set amount of images per day, as I do not pay a subscription for the AI service I use, but it generally allows up to 20 images per day with not charge, which is not bad.
By using this method, I can spend much less time cataloguing our collection, and use the freed up time to focus on our other research and archiving projects.